With version 20, we’ve revamped Ulysses’ outline navigation and relocated it in the dashboard — on Mac. On iPad and iPhone, outline navigation is entirely new. Let’s take a closer at the new feature and the options to make use of it in your workflow.
On Mac, the outline has a dedicated view in the dashboard that displays a number of text elements. Click on any of them to jump directly to its location in your text.
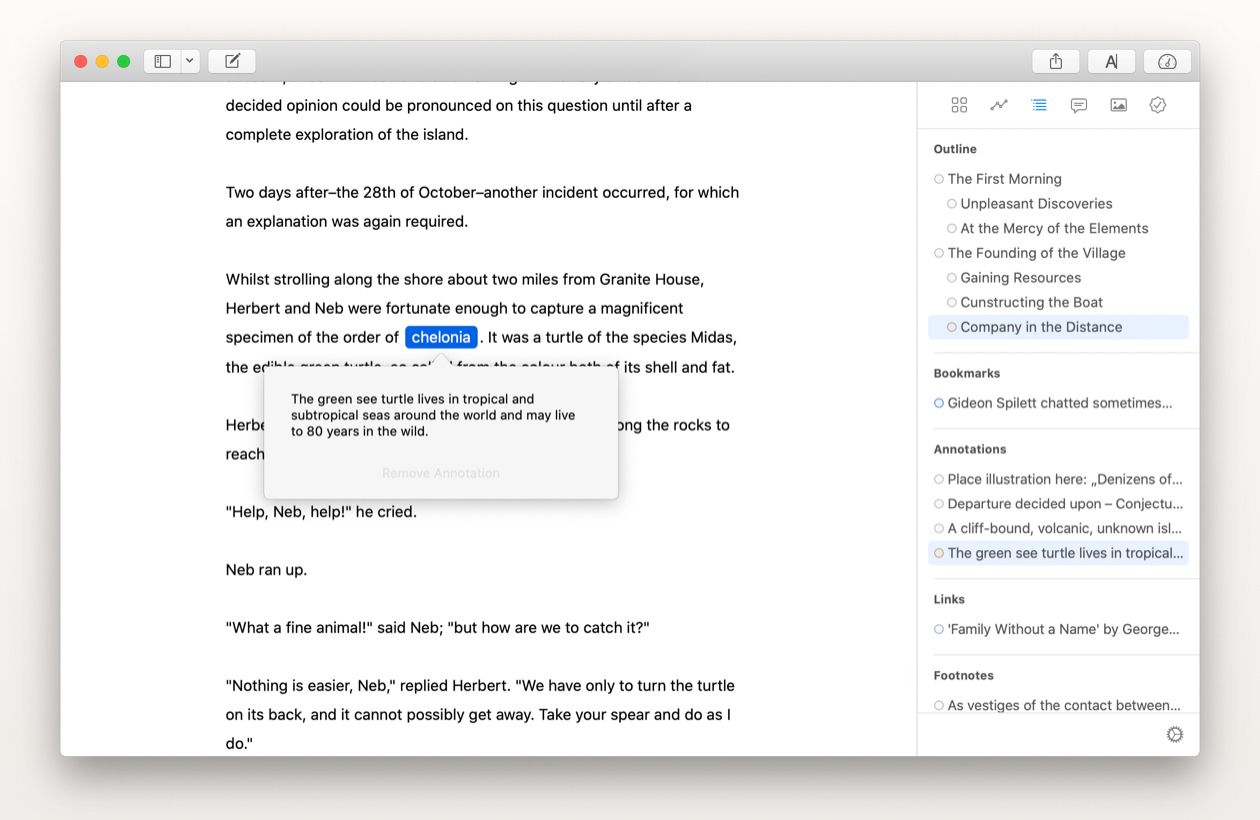
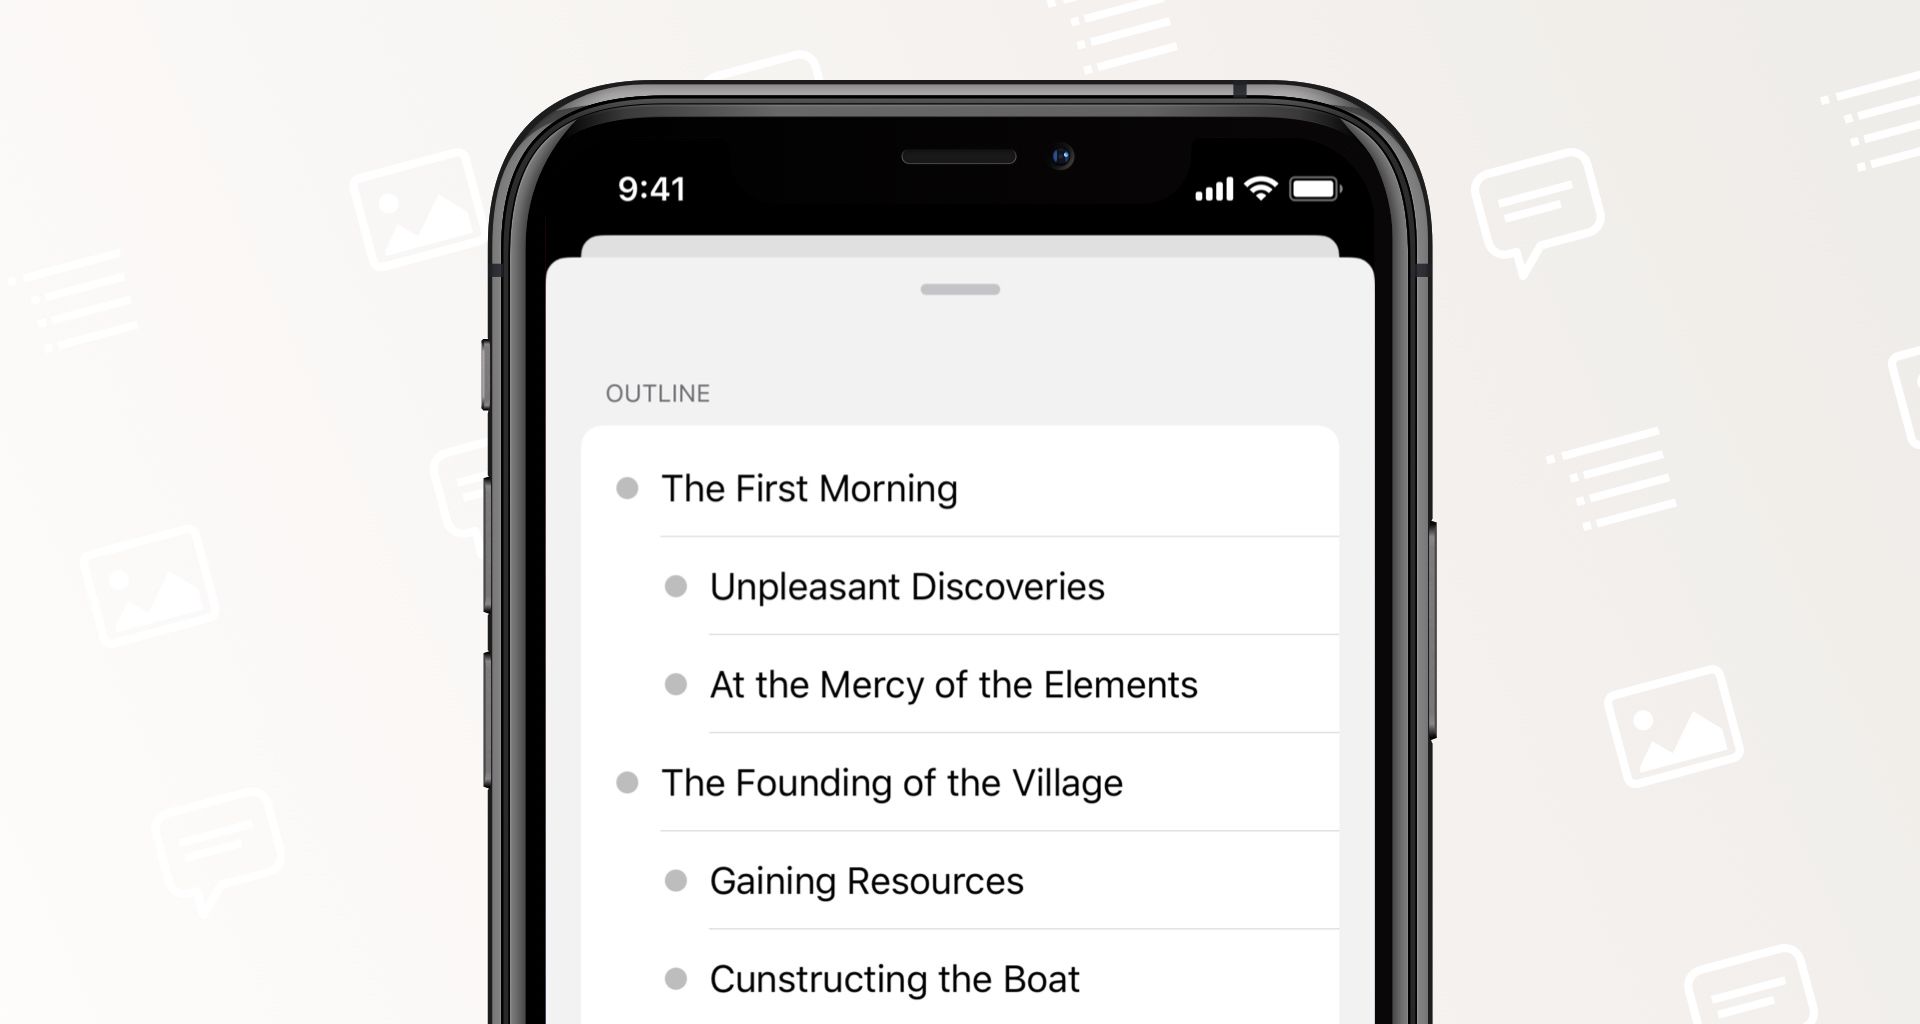
At the top, you’ll see your text’s outline in a narrower sense: All of your headings will be listed here in a hierarchical order. This allows you to easily get an overview of your text’s structure and to verify its completeness and coherence.
The next section displays your bookmarks. As a reminder: You can add a bookmark to any paragraph by right-clicking it and selecting “Add Bookmark” from the context menu. If paragraph numbering is enabled — find this option in the View menu — the respective number receives a colorful highlight. In the sidebar, the first words of a bookmarked paragraph will be listed. Please note: Bookmarks are not available on iOS.
Next up are annotations, which include inline comments, comment blocks, marked text passages deletions, and, of course, annotations. All of these elements are best used for text editing, allowing you to jot down anything that grabs your attention, needs further research or reformulation, etc. Now, in the dashboard, you can see all of your annotations in one spot, and focus on working through them.
Next, the links contained in your text are listed here with their URLs. If you’ve added a link title, that will be displayed here instead of the URL. May we draw your attention to a fine little detail? If your link’s URL is missing, it will be indicated with a small grey circle, otherwise the circle will be colored.
If you’re an academic, the last section will probably make your life much easier: Here you can quickly review and edit your footnotes, regardless whether you use them for references or additional remarks. Would you like to review the footnotes of several sheets at once? No problem: Press ⌘ (command) and mark the sheets in question, or mark all sheets in the sheet list with ⌘A (command-A). The dashboard will now display all of the above mentioned elements contained in any of these sheets.
There’s one trick you should memorize for working with the dashboard on Mac: One click lets you jump to a certain element in the text — it will bounce a little to draw your attention. With a double-click in the dashboard, you’ll jump and open the element for editing. As an example, for a footnote, a double-click in the dashboard will open the popover with the footnote’s text. This works not only in the outline, but also anywhere else in the dashboard.
Moreover, you can collapse any of the outline’s sections: Just hover over its name and click on the little arrow. Via the gear icon at the bottom, you can also uncheck sections you don’t want to see at all.
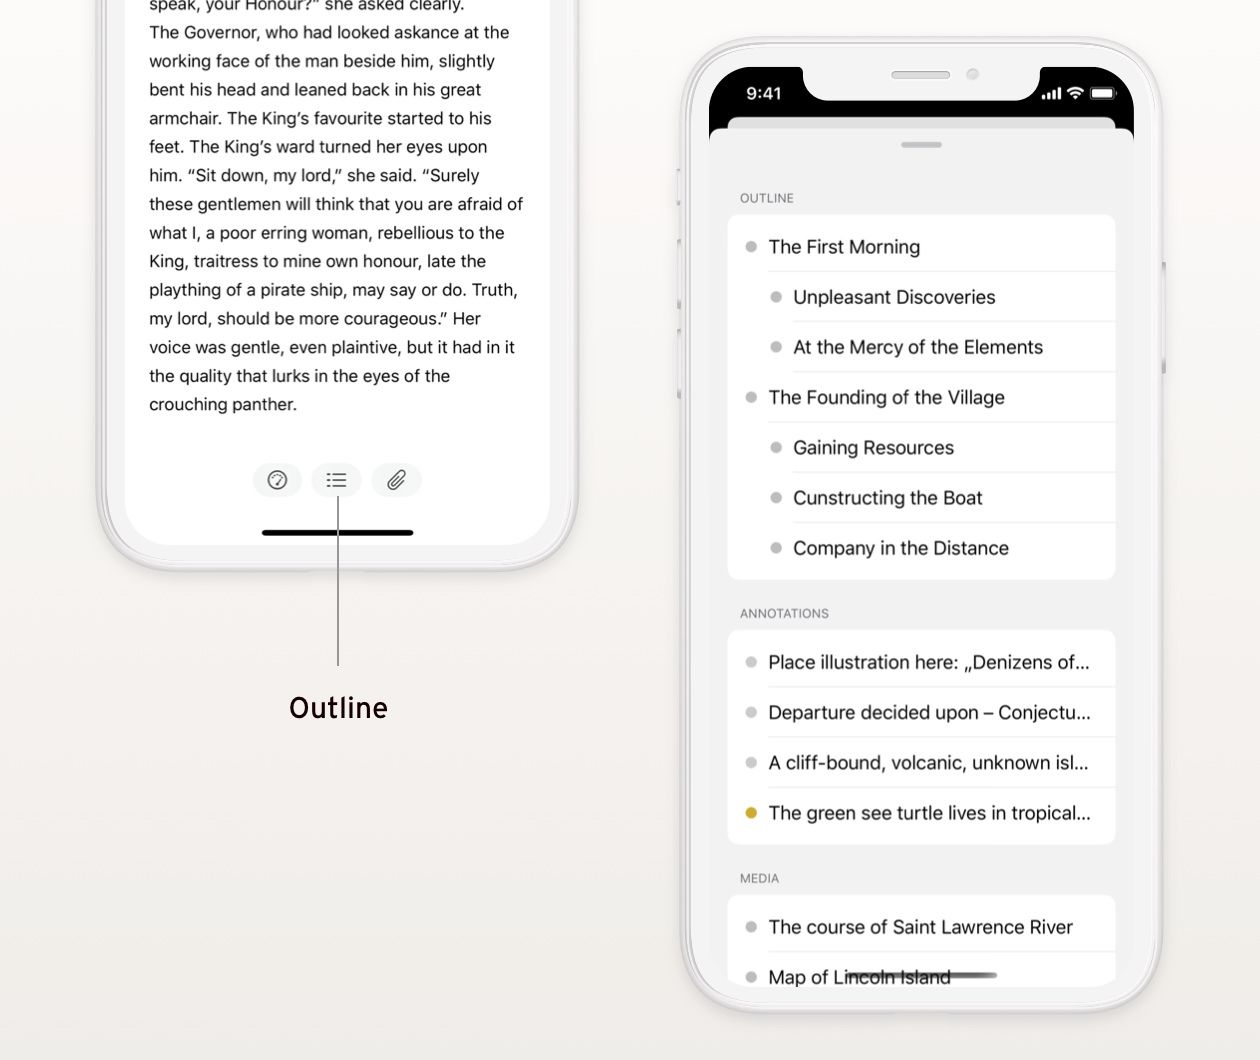
On iPhone, you can access the outline via a dedicated icon next to the dashboard icon at the bottom of your editor. It will be displayed as soon as your text contains navigable elements.
On the iPad, you can access the outline via the dashboard, in the sidebar.
In general, using the outline on iPad and iPhone is very similar, with the main difference being that there is no such thing as a double-tap. After navigating to a certain element in your text, you will need to tap it again to open it for editing.