
Apple’s Files app, released with iOS 11, allows you to access and manage your files from different sources in one place. Dealing with files and documents is now easier and much more transparent than before. You can open text documents for editing in Ulysses and import Word documents into Ulysses. You can of course also export your texts from Ulysses, and store them in a folder of your choice. Here is all you need to know.
Preparations
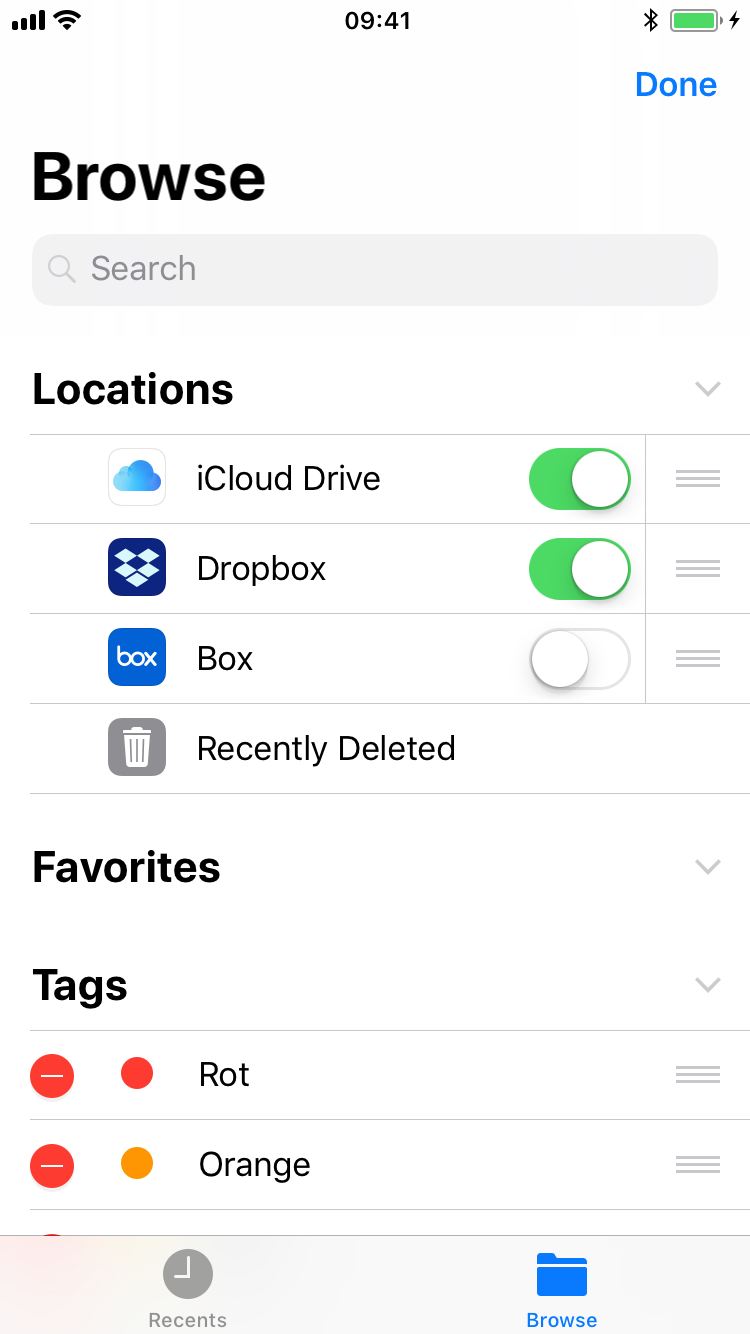
Before you start, you may want to add your preferred sources to Files. Open Files on your iPhone or iPad, go to Locations, and tap Edit top right. To make your storage providers of choice accessible via Files, turn on the respective toggles.
Editing in Place vs. Importing Into Your Ulysses Library
Ulysses distinguishes between different file types, and the way Ulysses is going to handle a file depends on its format.
So, if the file in question is a text or Markdown file, Ulysses will per default open it in a dedicated library section called “External Files” in Ulysses. In that case, Ulysses acts like a standard text editor: changes are saved back to the original file.
Because of Ulysses being a plain text editor at its core, you can’t use Ulysses to edit DOCX, HTML or RTF files directly. So, files of these types will be imported as new sheets into your Ulysses library. The original document will remain untouched.
Open/Import via the Files App
Now there are two ways for you to get your documents into Ulysses: Either via the Files app, or from within Ulysses.
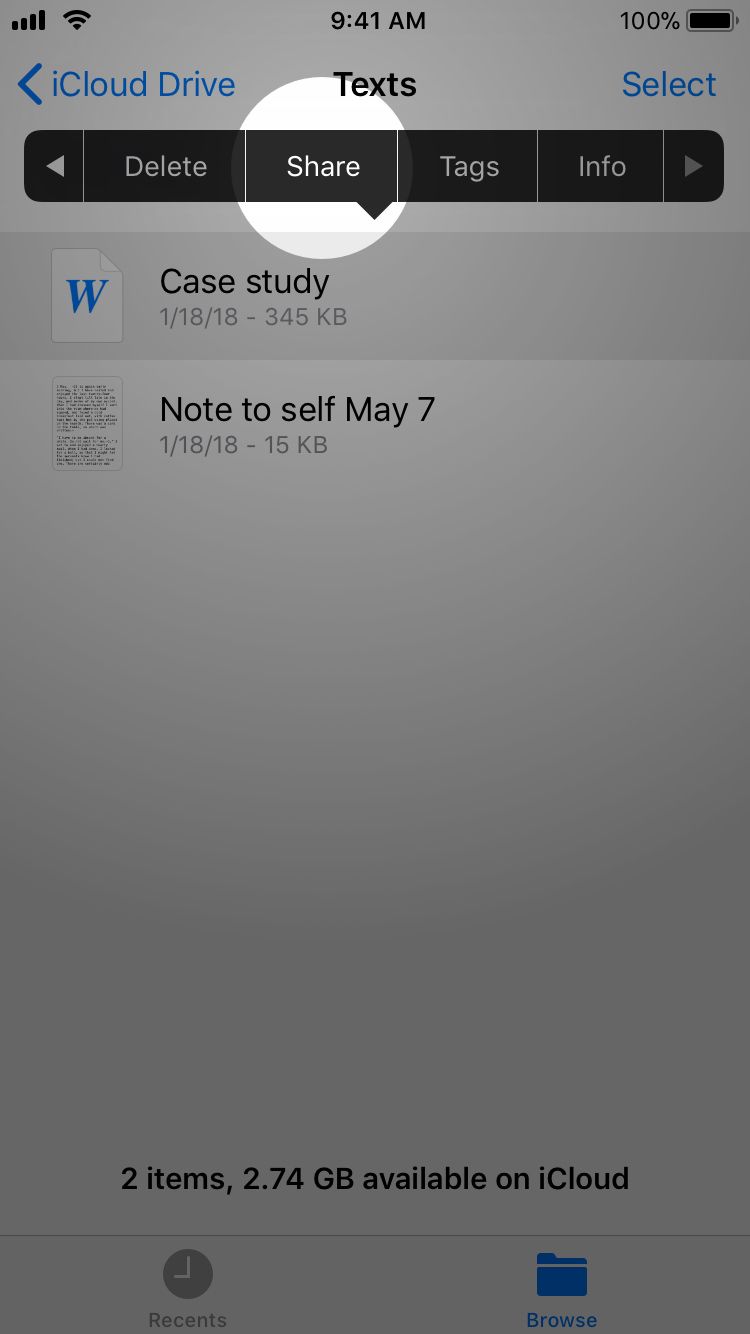
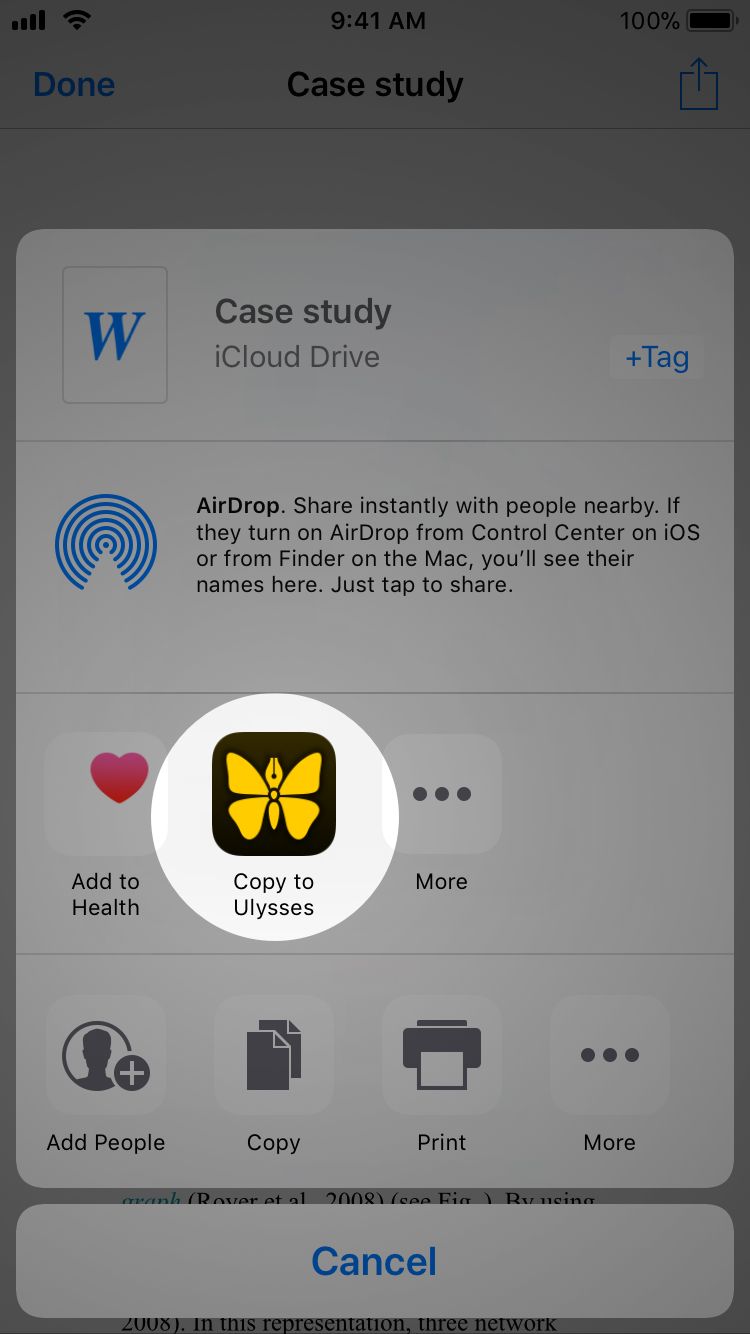
In the Files app, perform a long tap on any file. From the popup menu, select Share, and then “Copy to Ulysses” or “Open in Ulysses”, respectively.
The Files app is eager to learn, that is, next time with the same file type in the same folder, you’ll only need a single tap to perform the same action.
Open via Ulysses
You can also start from within Ulysses.
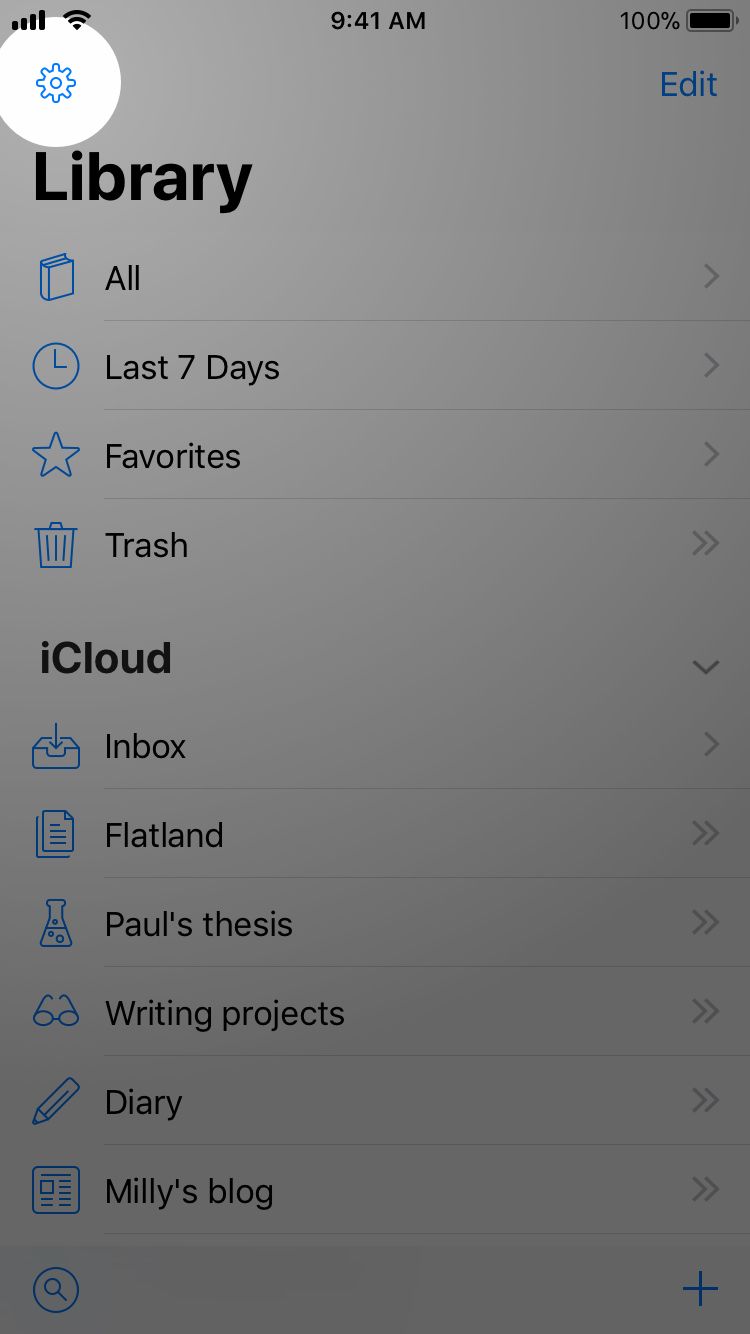
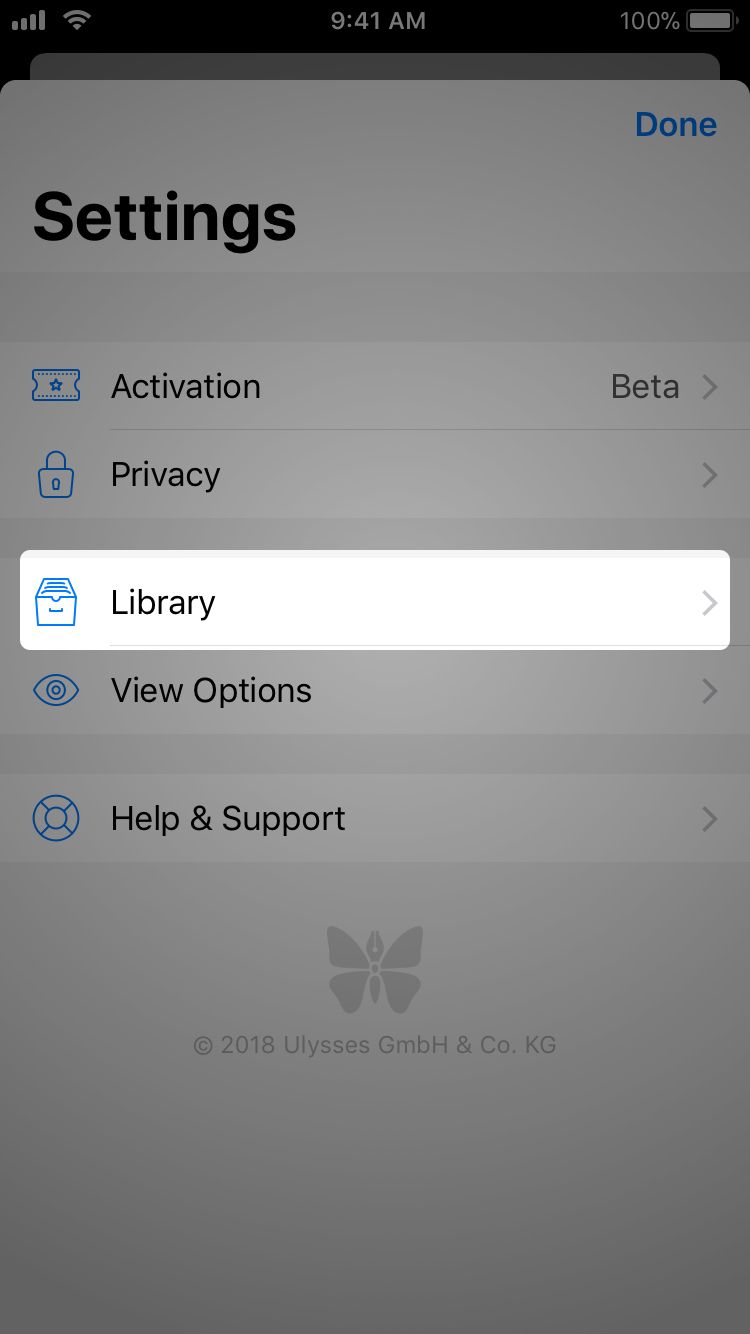
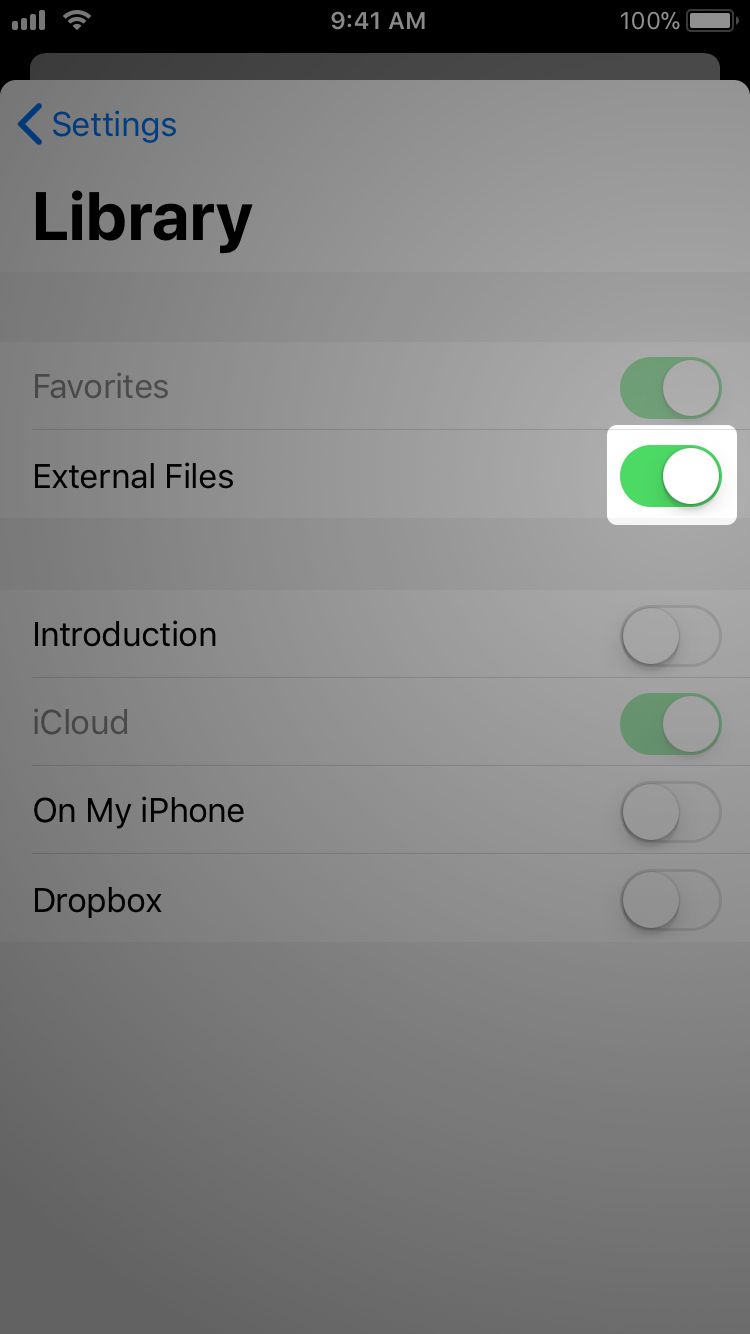
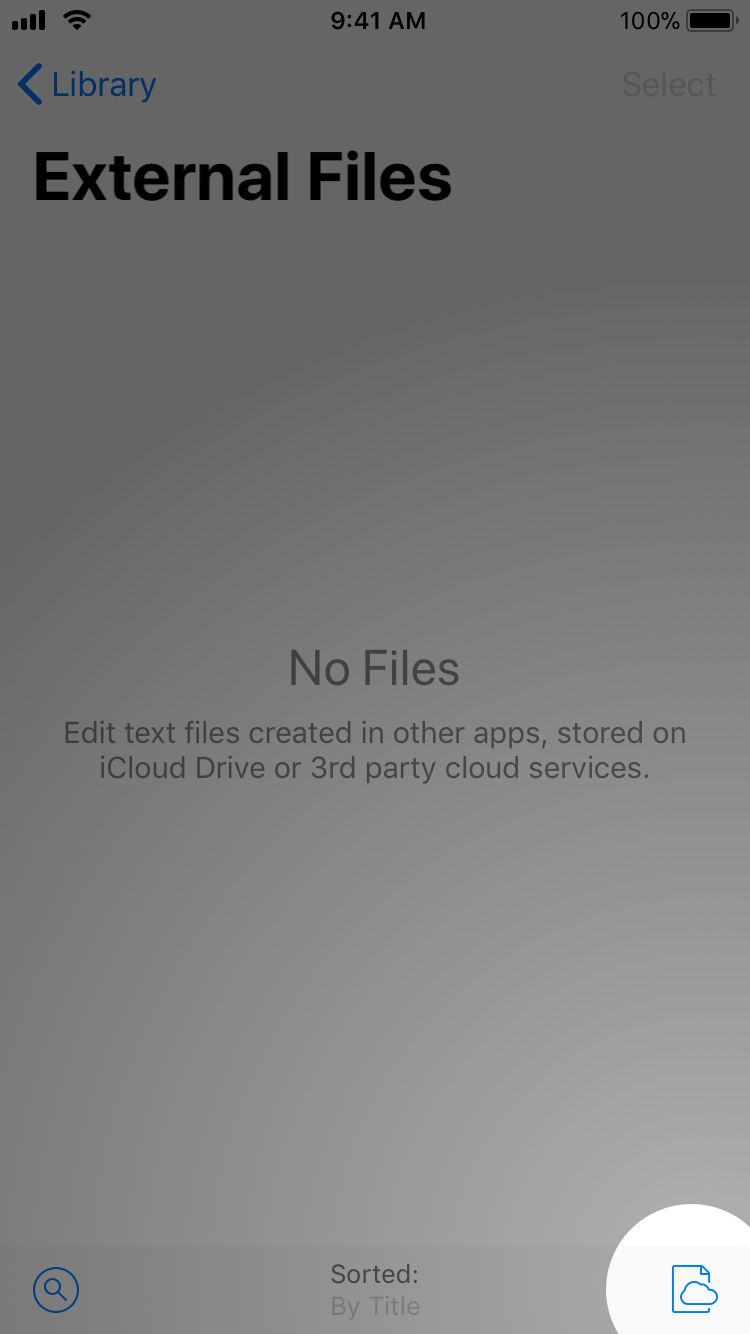
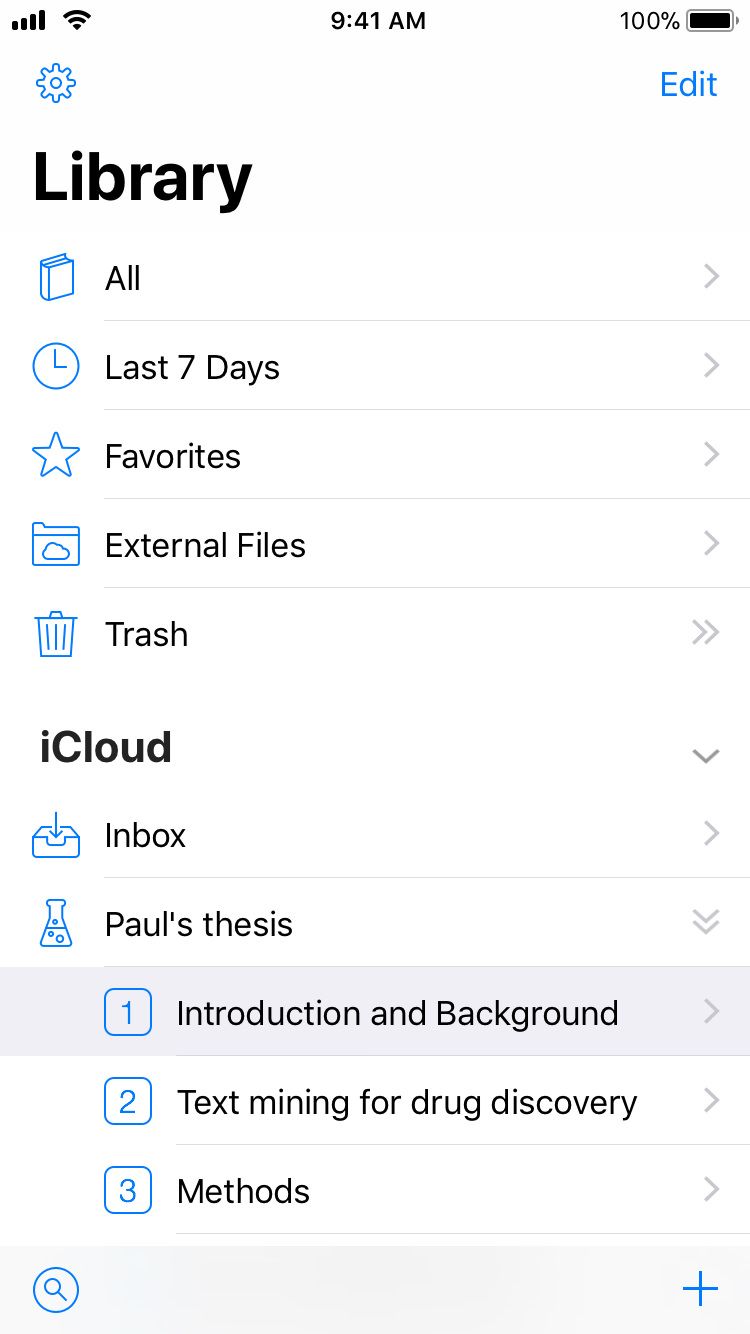
For being able to open text and Markdown files from within Ulysses, the “External Files” section of your library must be enabled. If isn’t yet, open the library settings, tap “Library” and turn on the respective toggle. Go back and tap Done to return to the library.
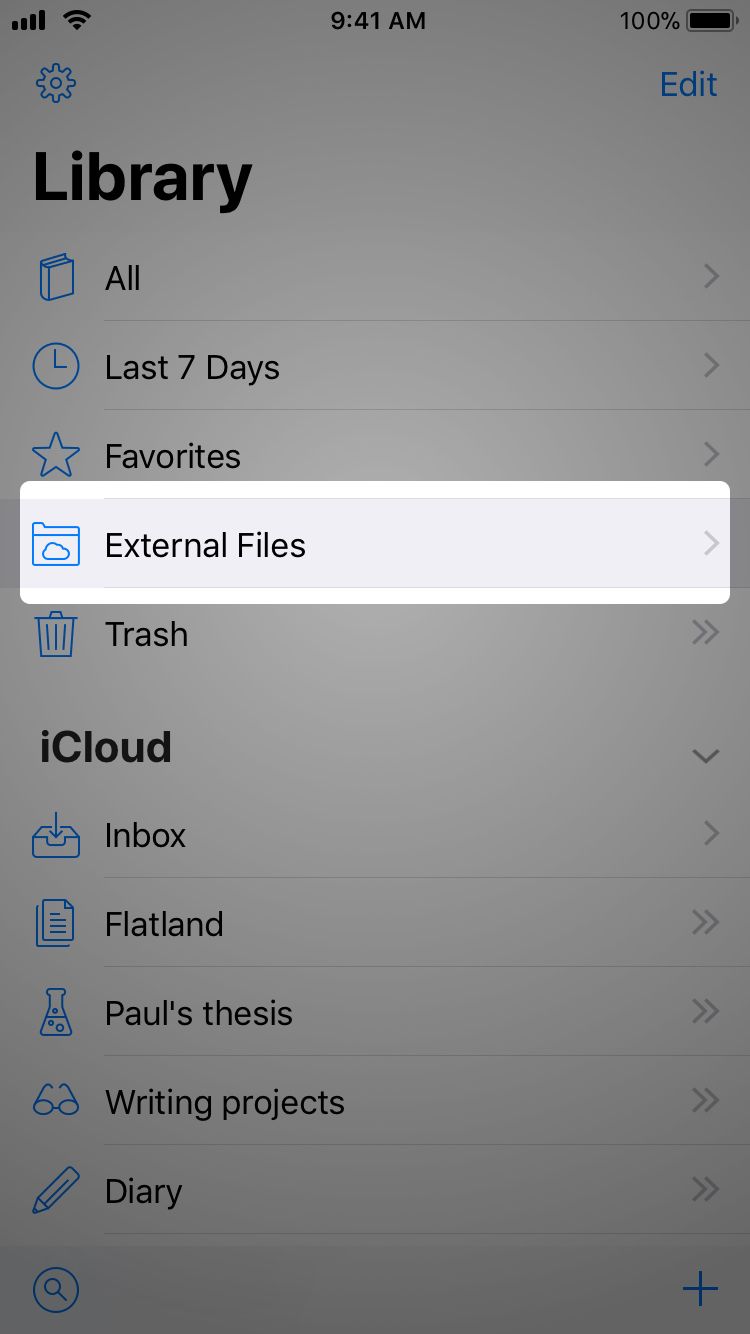
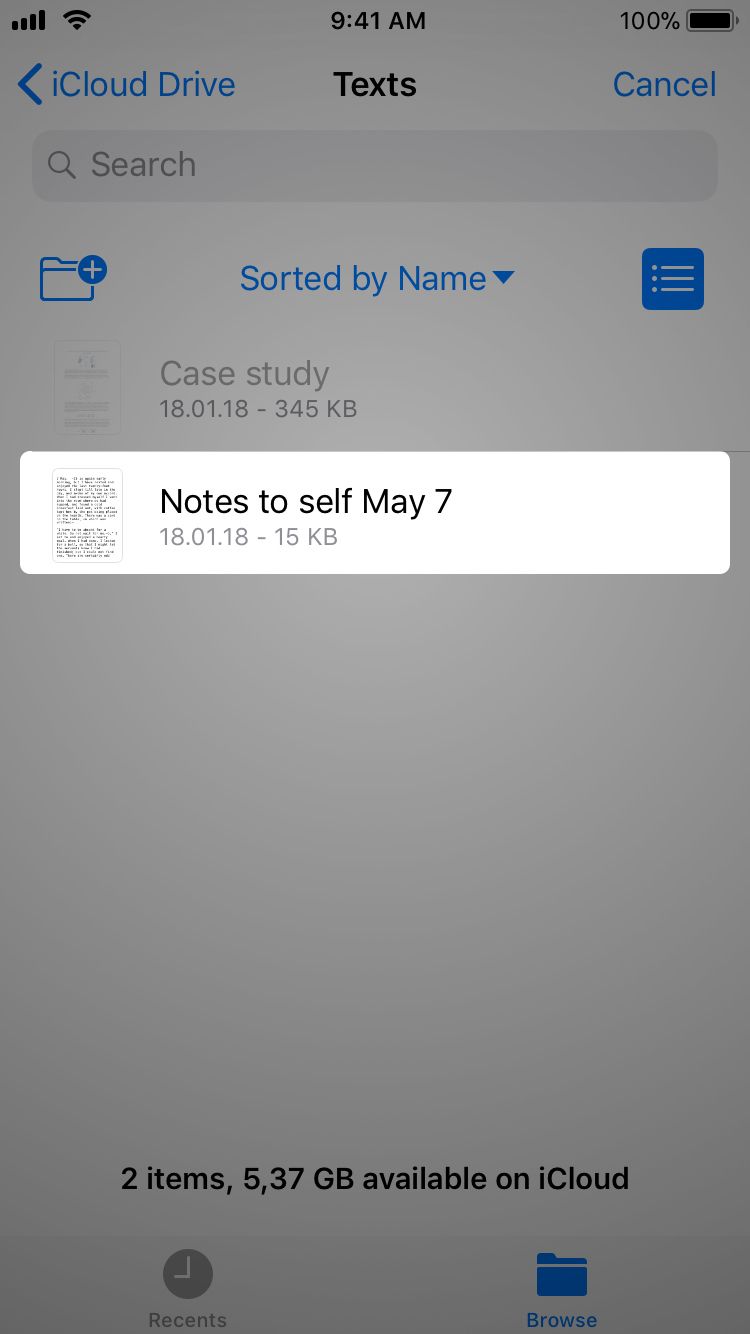
Now, you can open the “External Files” section in Ulysses. The cloud-on-file icon bottom right will let you browse your folders – tap any plain text or Markdown file to add it to the section, and tap again to start editing.
Import via Ulysses
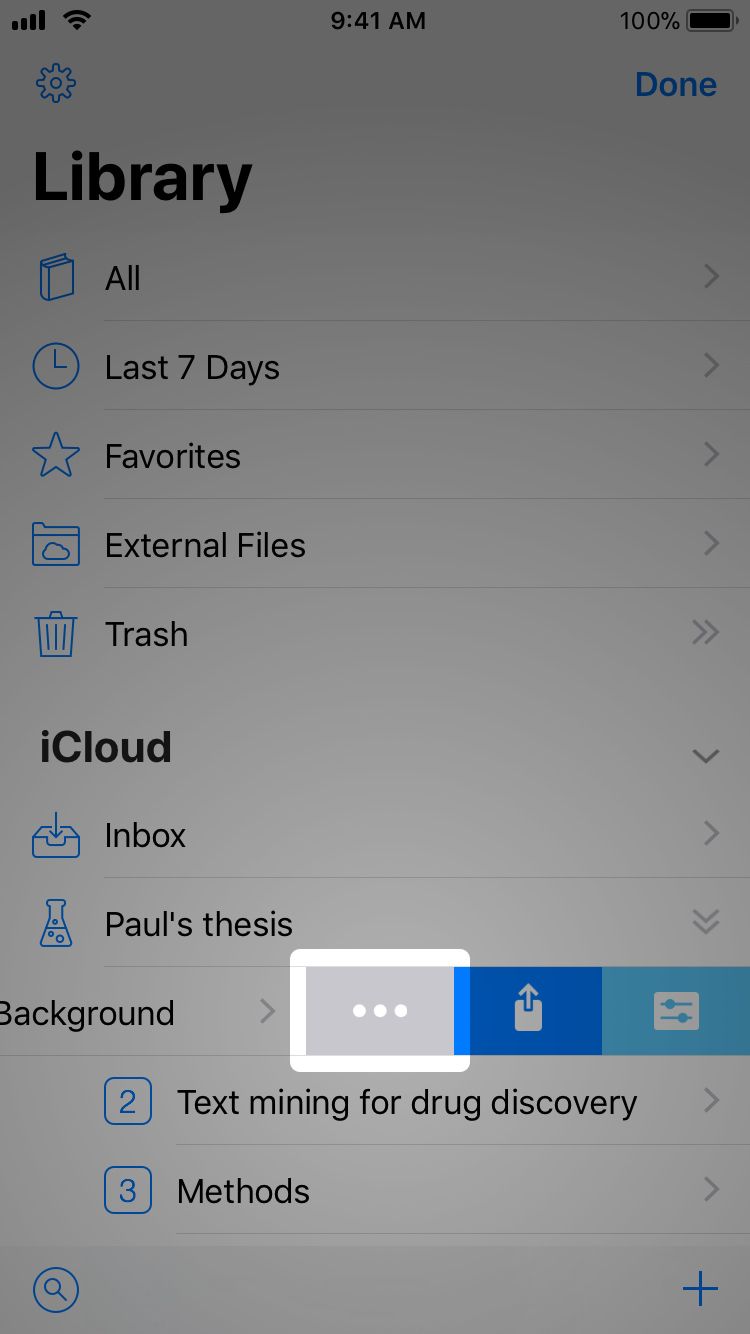
From within Ulysses, import can be performed easily for any of the above mentioned file types. Just swipe left on the group you want to import to, tap the ... icon and choose “Import…”. You can then browse your folders and select a document or text file.
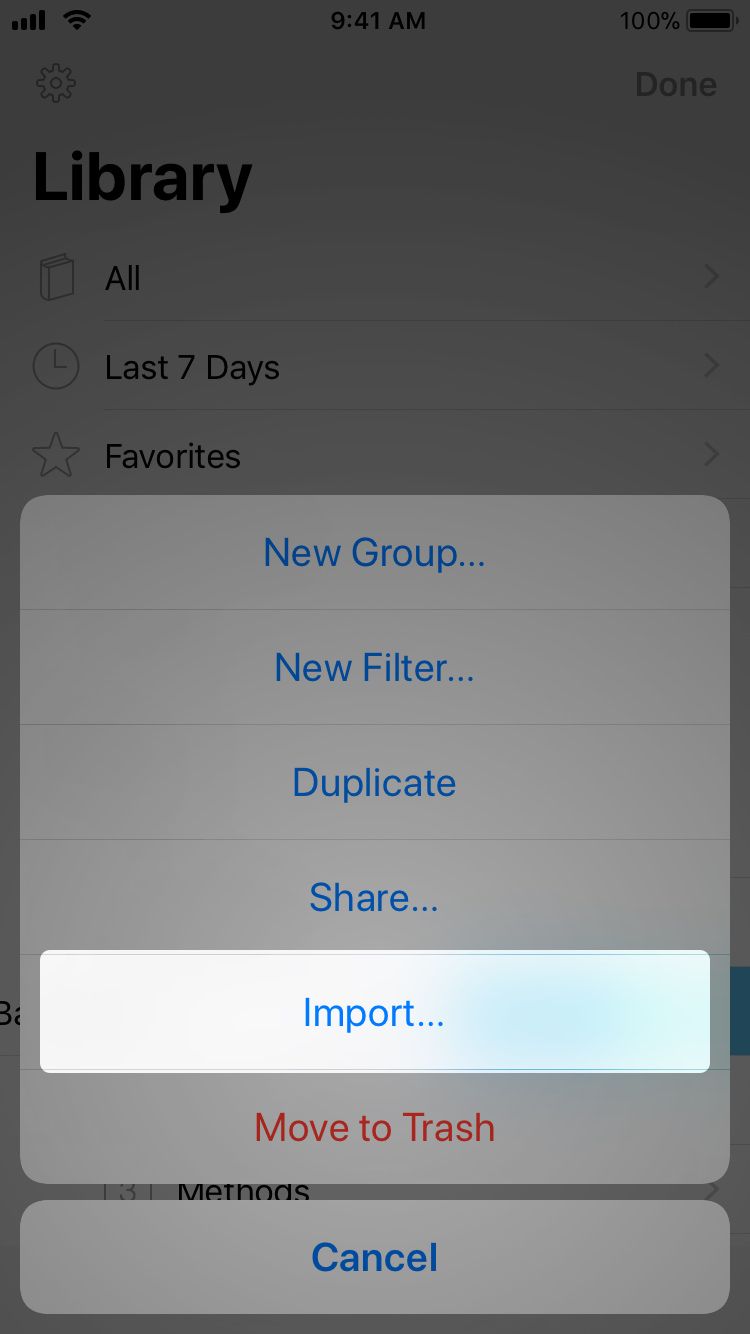
Hint: ZIP files will work as well; they can contain multiple files and/or subfolders.
iPad Only: Import via Drag & Drop
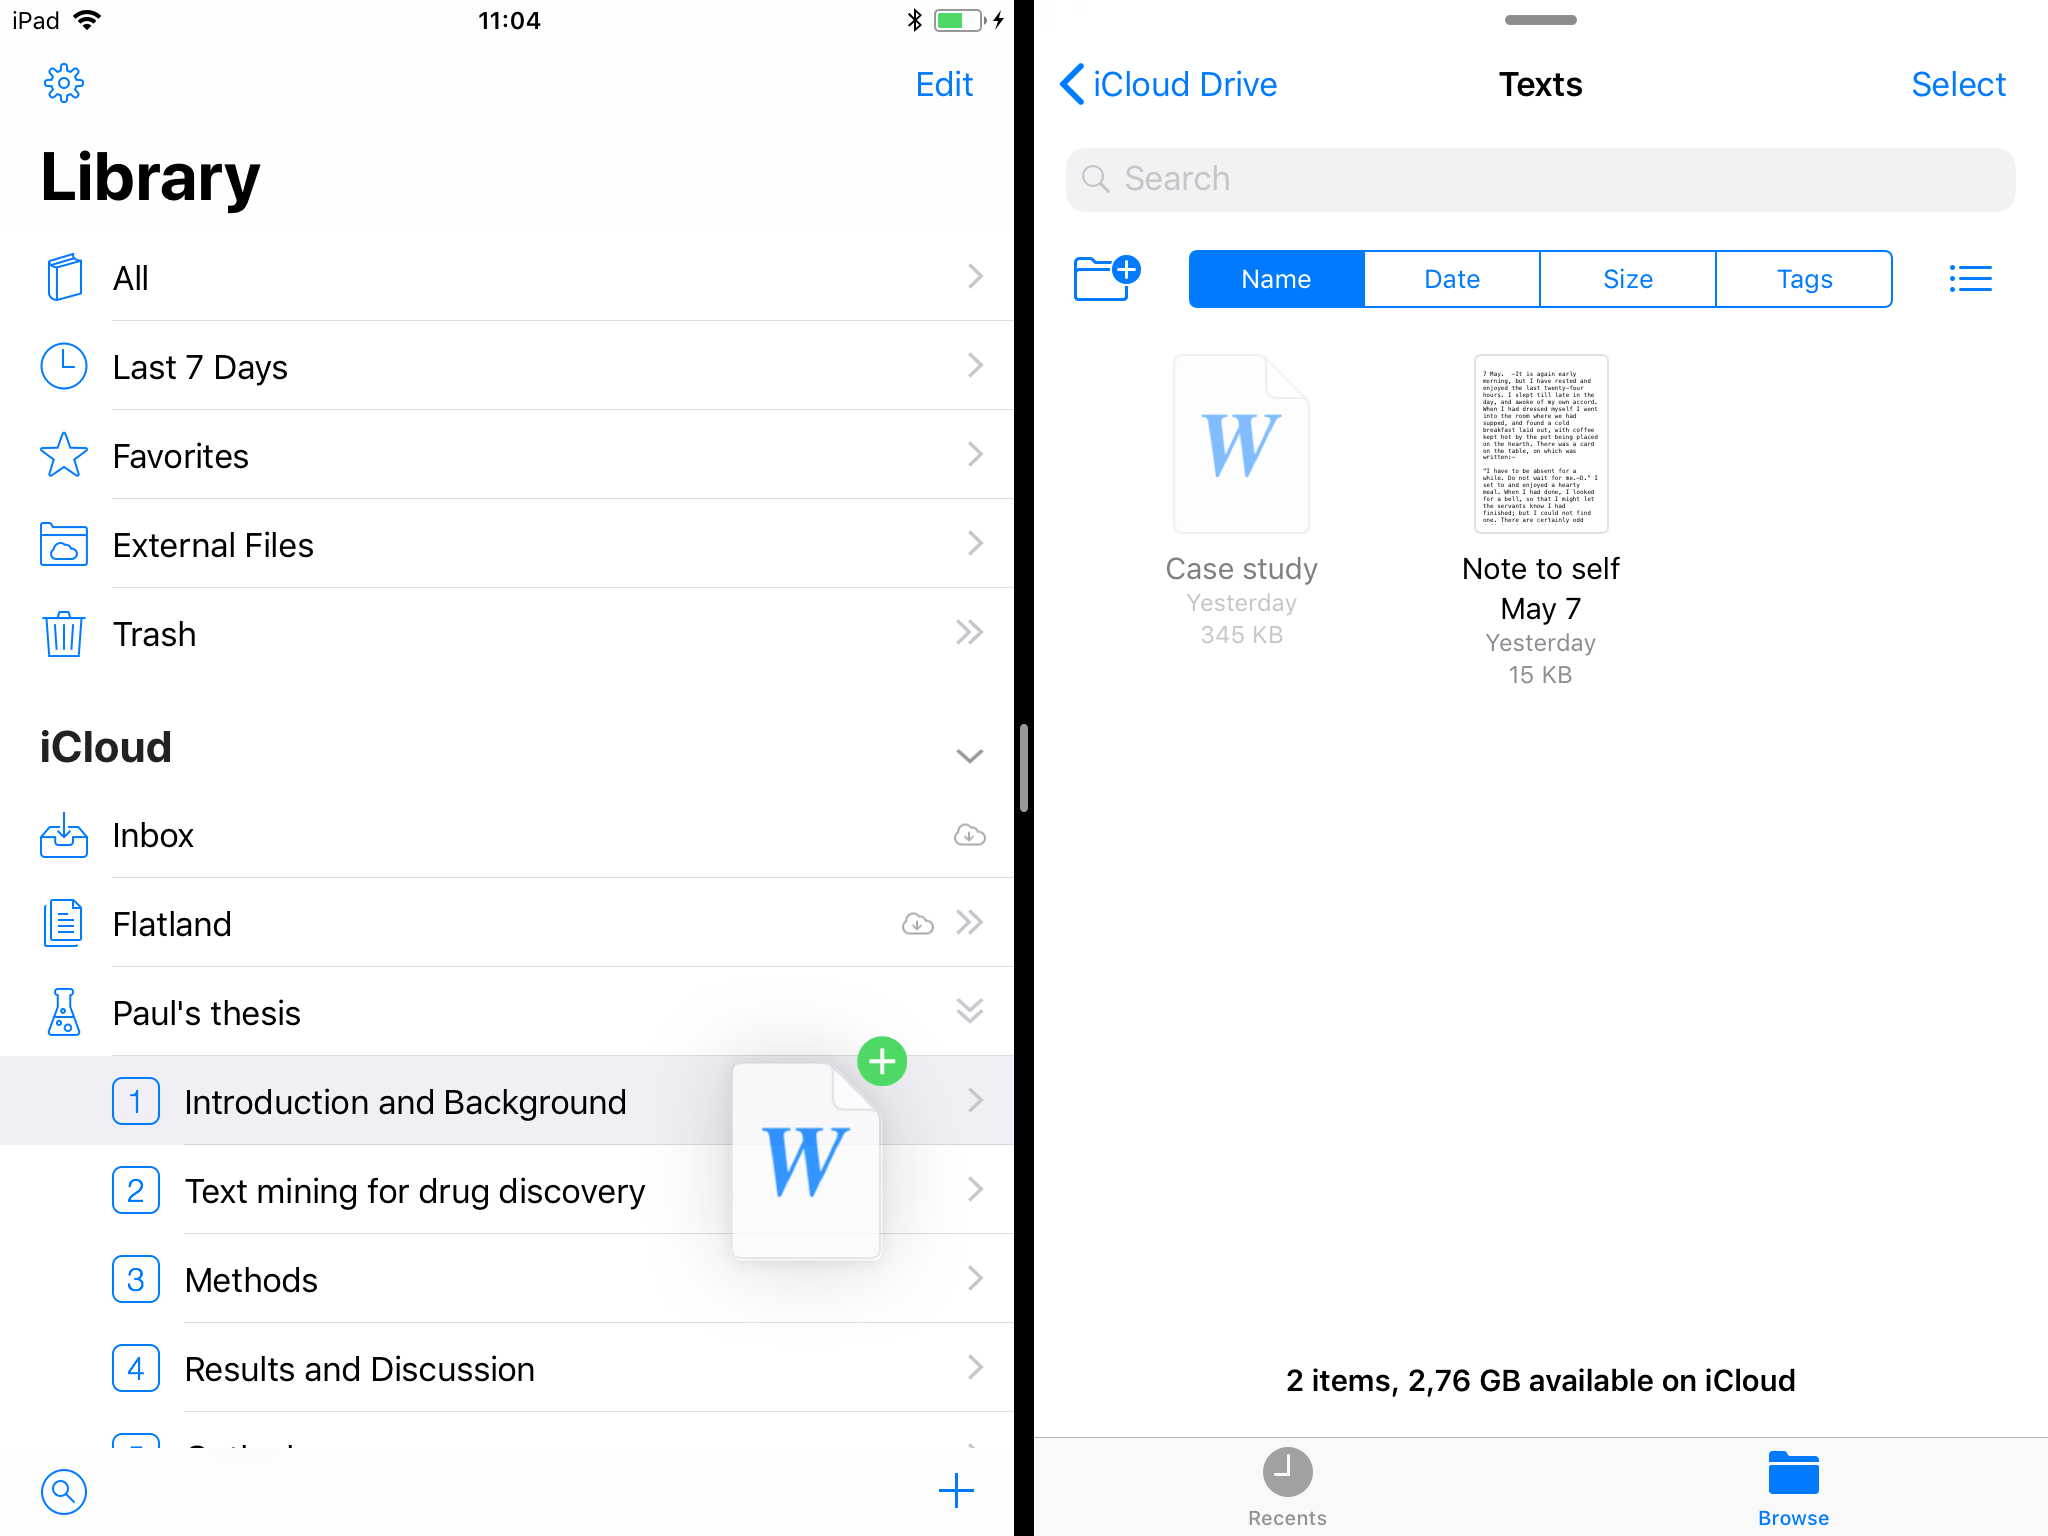
Things are even easier when working on iPad, with Ulysses and the Files app in Split View.
To set up a Split View on your iPad, simply open one app, e.g. Ulysses. Now swipe up on the screen to open the Dock. Then, drag the icon of the other app you want to open — Files, in our case — to the right or left screen margin. Adjust the app separator if necessary.
Now you can access your Ulysses library side by side with your Files folders. Simply drag & drop text documents to any Ulysses group in order to import them. Regardless of their original format, they will be copied as sheets to your library.
Export and Store Ulysses Texts
Exporting and storing your Ulysses writings is also easy thanks to Files. Just follow these steps:
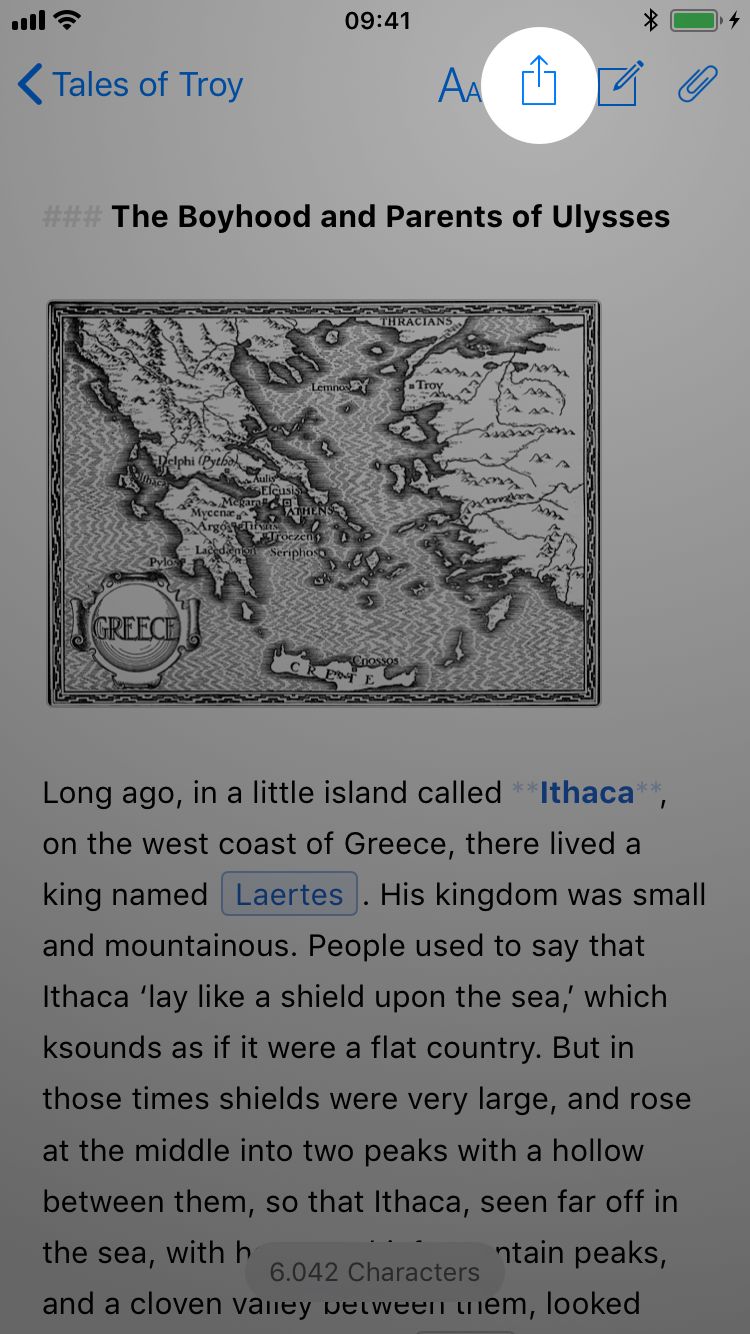
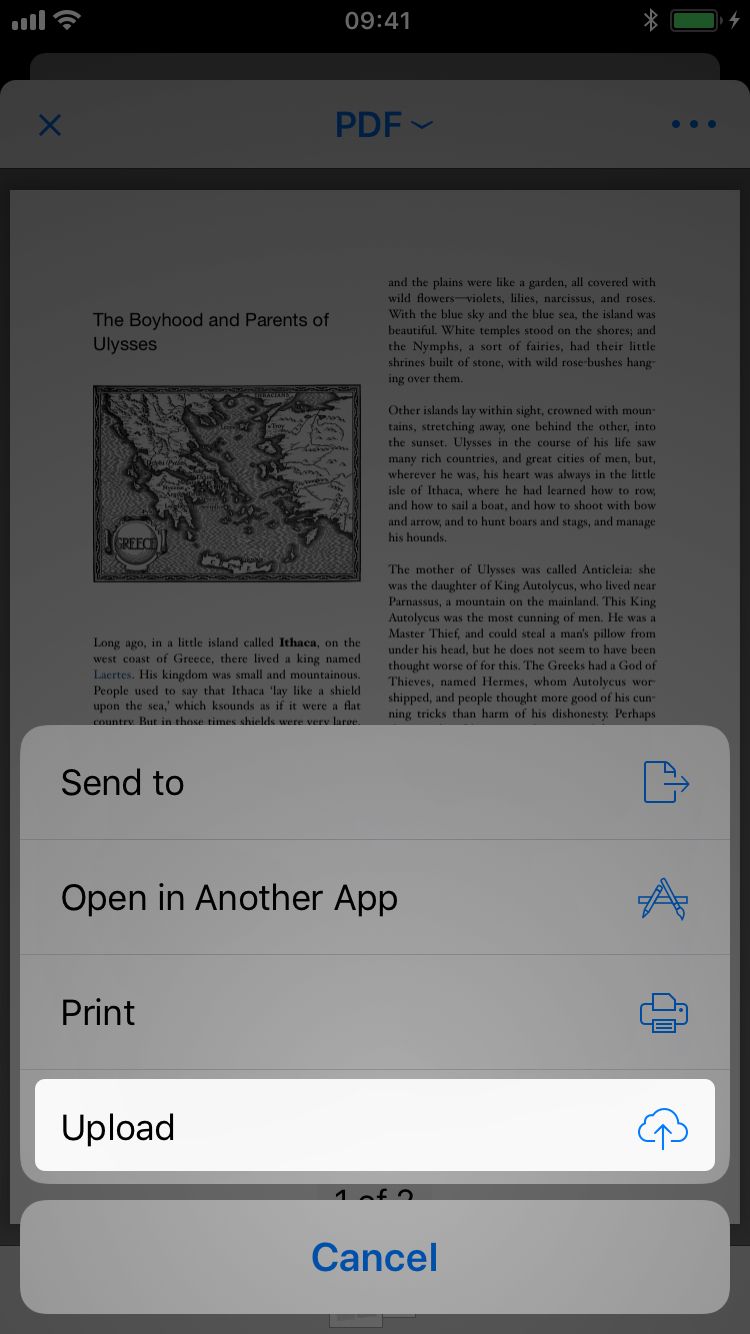
- In any Ulysses sheet, tap Export top right, just as usual.
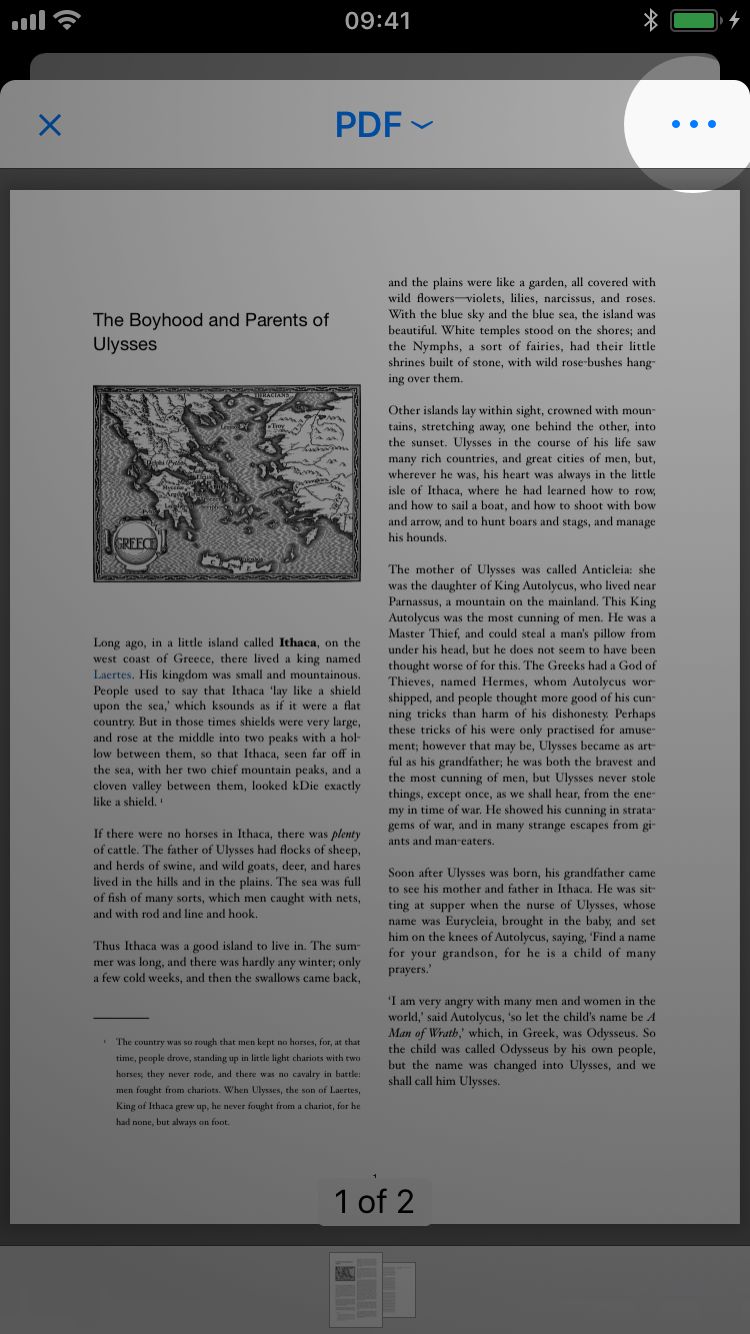
- Select an exporter, PDF as an example, and specify the export settings if necessary.
- Tap the
…icon and select Upload. - Now you can choose a location to save the resulting file to.
And that’s it for the moment! If you want to learn more about managing your documents on iOS with the Files app, please refer to this support article by Apple.