Sean Willson is a software engineering manager with a weakness for science fiction. In a previous blog post, the author of six books shared how he finds time to write despite having a full-time job and family. Today, Sean explains how he manages his writing process (almost) exclusively in Ulysses.
I do all of my planning and writing for my fiction in Ulysses. From researching a topic, to developing an outline and character sheets, to those first words, they’re all there. Here’s a rough breakdown of what that looks like:
- Brainstorming
- Create book skeleton
- Write a detailed outline
- Explode the outline into chapters
- Time to write!
- Self-edit Pass 1: Continuity and adding details
- Self-edit Pass 2: Siri talks to me
- Self-edit Pass 3: Apply more editing tools
- Professional Edit Pass 4
- Beta readers Edit Pass 5
- Professional Proof Edit Pass 6
Let’s dig into what this looks like in practice.
Usually when I’m planning a new book or series, I have a group of folders I use that are broken into brainstorming buckets. It doesn’t matter what I’m mulling over, I have different files and folders for all my random thoughts and ideas. They can be in the form of online links, random inspirational images, notes, or epiphanies I had while walking. Ulysses holds it all.
Once the idea has taken shape and soaked for a while, and once I decide to turn it into a book, I pull the notes into a new top-level structure in Ulysses. For my first series, I iterated on the folder structure, but nowadays, it’s pretty consistent. I plop those notes into these folders and start dissecting them, transforming them into a detailed outline. Yes, I’m a plotter, not a pantser… and Ulysses is my canvas. In it, I can easily write a ten to twenty thousand word outline for a book.
While I’m writing the outline, I work on building location and character sheets for my universe. They contain the details that make a novel feel real, even if they don’t make it into the first draft. Whether it’s smell, colors, or mannerisms, the more nuanced the experience I’m painting, the better. I try to capture these traits in the character sheets as they come to me. Sometimes it’s in this stage of the process, and occasionally it’s later in the writing itself.
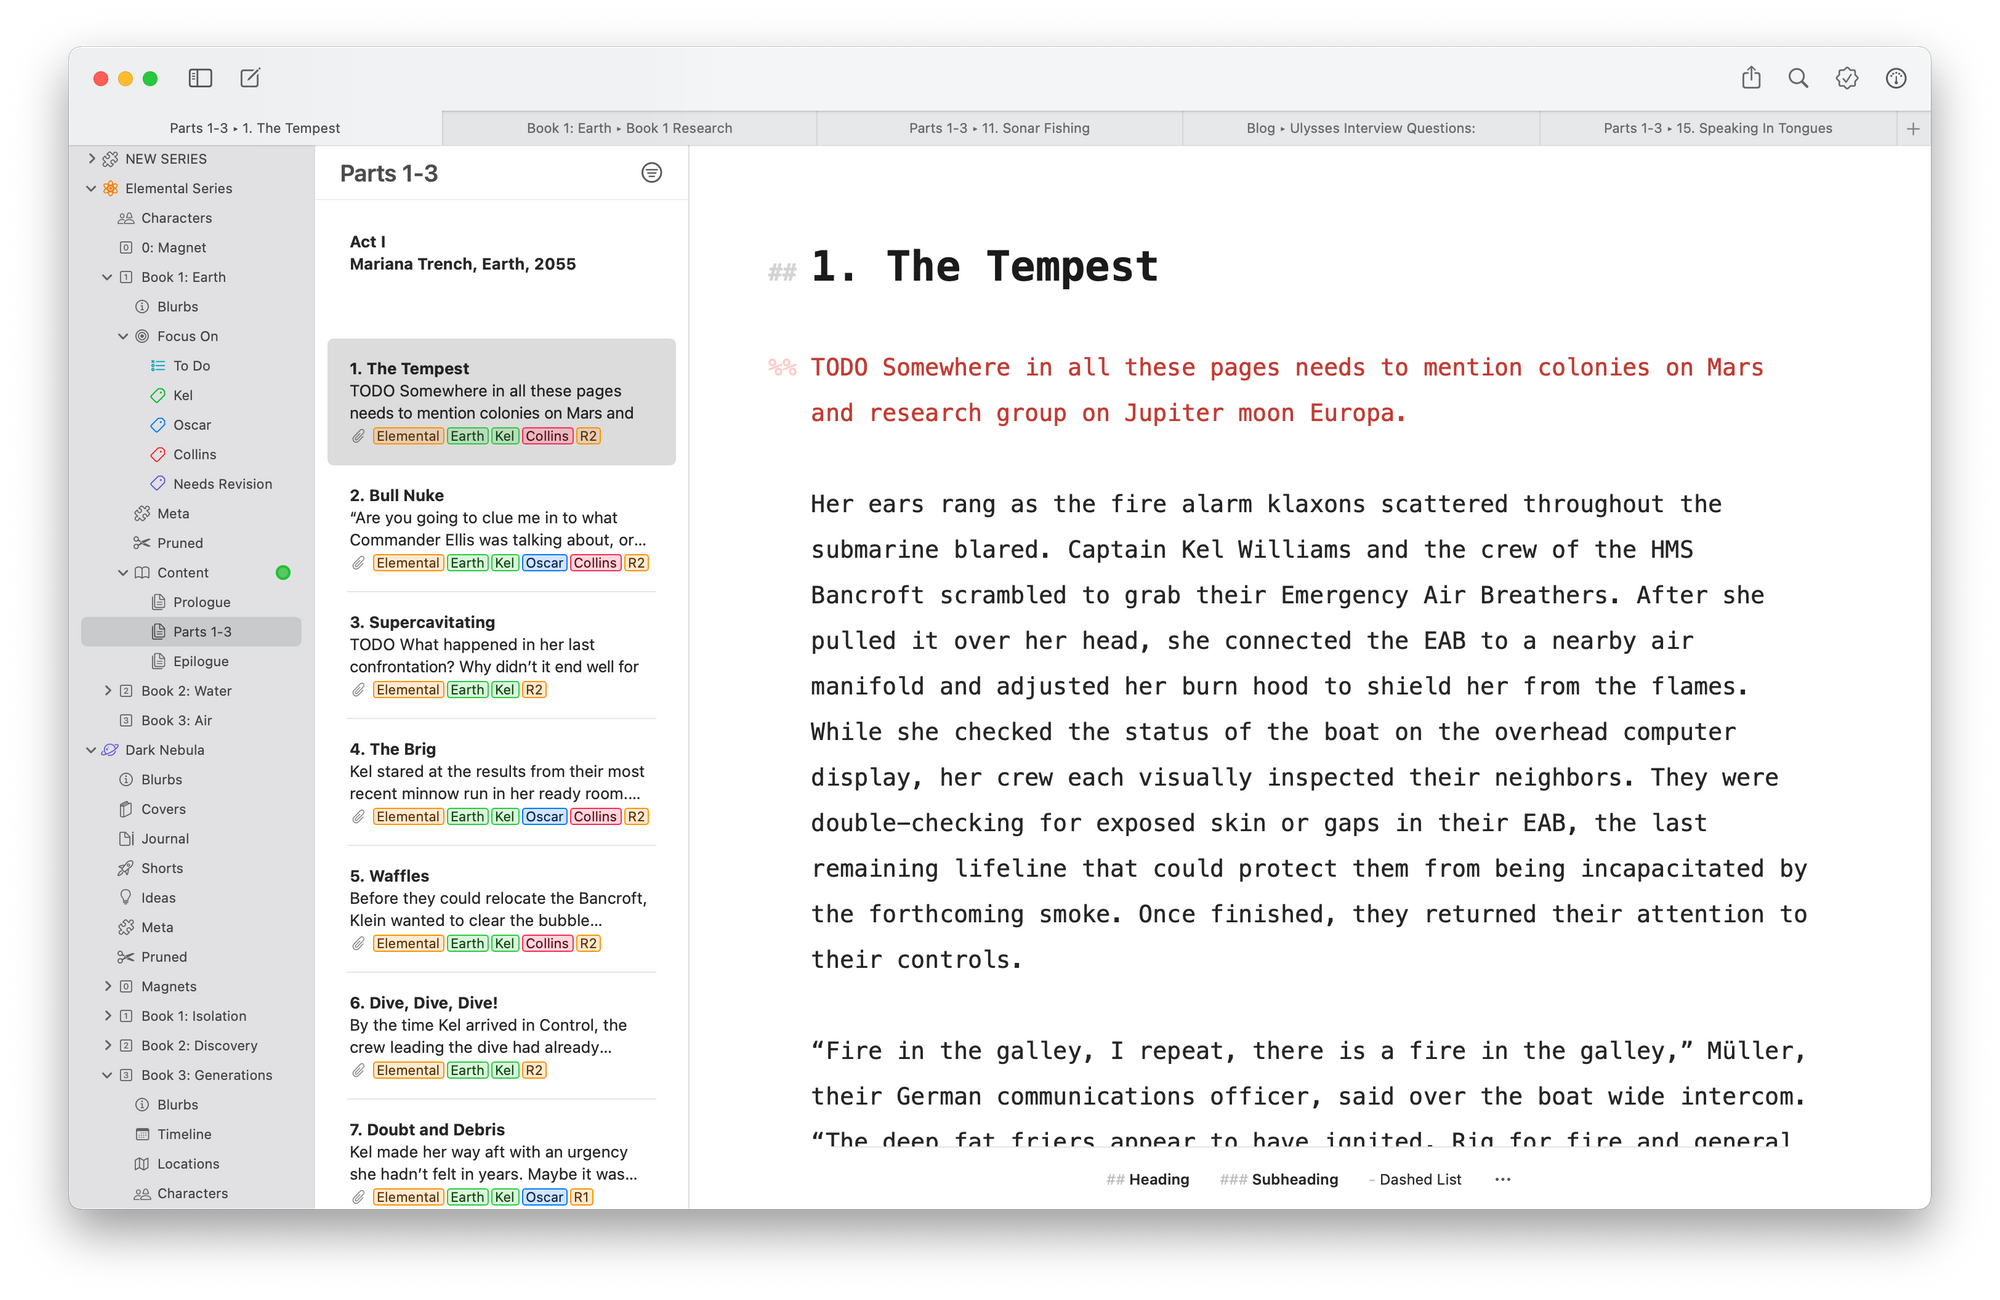
When I finish the outline, I explode it out into chapters. Each has at least one Ulysses Sheet, and sometimes I use Glued Sheets to keep them collected together. The outline I created goes in Ulysses as an Annotation Note on a Sheet. I also often copy snippets from the character bios into the notes as well. They help remind me about a character when I’m in the writing zone. When I’m creating these chapter sheets, I also add Ulysses Keywords with Location, POV, and the Character Names for each person who appears in the scene. This makes it super easy to later slice and dice the story to work on flow and gaps.
Once I’ve gotten my skeleton in place, it’s time to write! From here, it’s all about obtaining and maintaining flow, and this is where Ulysses really shines. It gets out of my way and lets me focus on the meat of the story, the words. I can pull up the annotations as needed, or hide them to truly zone in, or is it out. Whether it’s choosing the perfect font or creating a distraction-free writing experience, Ulysses helps me unlock my storyteller by easing the mental burden of the tool, enabling me to concentrate on my craft.
Ulysses helps me unlock my storyteller by easing the mental burden of the tool, enabling me to concentrate on my craft.
Alright, now that we have the words spelled out, the editing fun begins. Usually as I’m writing, I toss in comments that help me stay in the zone. They’re small cues or bumps I can address later, as I preferred not to do it while writing that first pass. We all know how easy it is to spend hours researching something online. Pausing to do that while you’re writing the first draft of a book can be disastrous to one’s productivity. If I didn’t research it during the outline phase, I create %% TODO comments throughout my writing to remind me to circle back and clean it up. To make this easy, Ulysses jumps to the rescue, allowing me to create Filters on my Sheets. I simply create a new Filter, searching on text that contains TODO or sometimes Keywords I’ve applied to a sheet with that same TODO name. Then I can simply click on the Filter and start filling in the blanks or doing the research.
With the missing pieces filled in, I jump into editing. For this, I use a combination of Ulysses Revision mode, Siri reading aloud to me, and finally, ProWritingAid (PWA). I usually go through each chapter in that order. While doing it, I’ll revise the wording of things to read cleanly as well as to add things like sight, sounds, and engulfing content that pulls the reader into the scene. That final step using PWA is the first thing that takes me out of Ulysses. I copy the text out of the application, paste into PWA, run some reports and make some additional edits. I typically run consistency checks, writing echos, adverb advice, and a house report of my common writing quirks. Once complete, I copy the words out of PWA and paste them back into my source of truth, Ulysses.
So now we’re getting close to a finished form, right? Well, not exactly. Along the way, I’ve been tagging each chapter with R1, R2,… RN Keywords representing each revision I’ve done. By the time I leave PWA, I’m on R3 for each chapter sheet. What follows my self-editing is a professional editor revision where I export from Ulysses into a Standard Manuscript formatted Word doc. You know the usual double space, mono font, and numbered pages that editors love. I grabbed one of the Style templates from the Ulysses site a while back and have just tweaked that to my liking. Anyhow, this goes to my editor and when they send my edits back, I take that document and apply all the changes I want back in Ulysses, sometimes making tweaks to their suggestions as I go. Remember, Ulysses is my source of truth, NOT Word. I’ll explain why later.

Now that the editor pass is complete, I re-keyword everything with R4 (removing all the other revision keywords as I go). Then, I export another copy in that same Standard Manuscript format and send it on to my beta readers. They do a pass, similar to my editor, and like in that last pass, I figure out what changes I want and apply them back to Ulysses. Finally, I update my revision tag to R5.
We’re almost done! The next export goes to a final professional proofreader, and those results gets tagged as R6. While I’m doing all this, I’ve kept track of new or deleted chapters with revision keywords. I also collected deleted scenes in a Pruned Folder in the Ulysses project set. These can be fun to review later once you’re done. They give you a source for possible future books, spin-offs, or never before seen scenes you might want to share with the readers of your newsletter.
Ok. Now we’re at the final step. The last export for me is another formatting template I got from your Ulysses Style Template site. It’s one that makes it super simple to export into Vellum, the tool I use to produce my ePub documents. In the template I’ve customized, I map the Ulysses styles to the Vellum styles. That export is pretty seamless. The only thing I usually have to do in Vellum is go through and apply some block-quotes for certain scenes I want to appear differently. Otherwise, it’s nearly perfect.
Scrolling back up, I realize that seems like a lot of words to describe my process, but in reality, it’s actually quite fluid. Most of the pain in writing the book is in the editing, but it sorta has to be, right? If you don’t want to manage the folder or revision hell of poorly named Word files like FINAL-Almost-Done-Revision-From-Editor.doc, then instead, you should use the right tool for the right problem. For me, that has been Ulysses Keywords. Once in a while, if I need to go back to an older version to see what I originally wrote in Ulysses, I simply click File > Browse All Versions. In that view, I can scan through the archive of what it used to look like. It’s far easier than fighting file name purgatory in the Finder.
That’s about it. That’s my writing process in Ulysses for creating a new book.
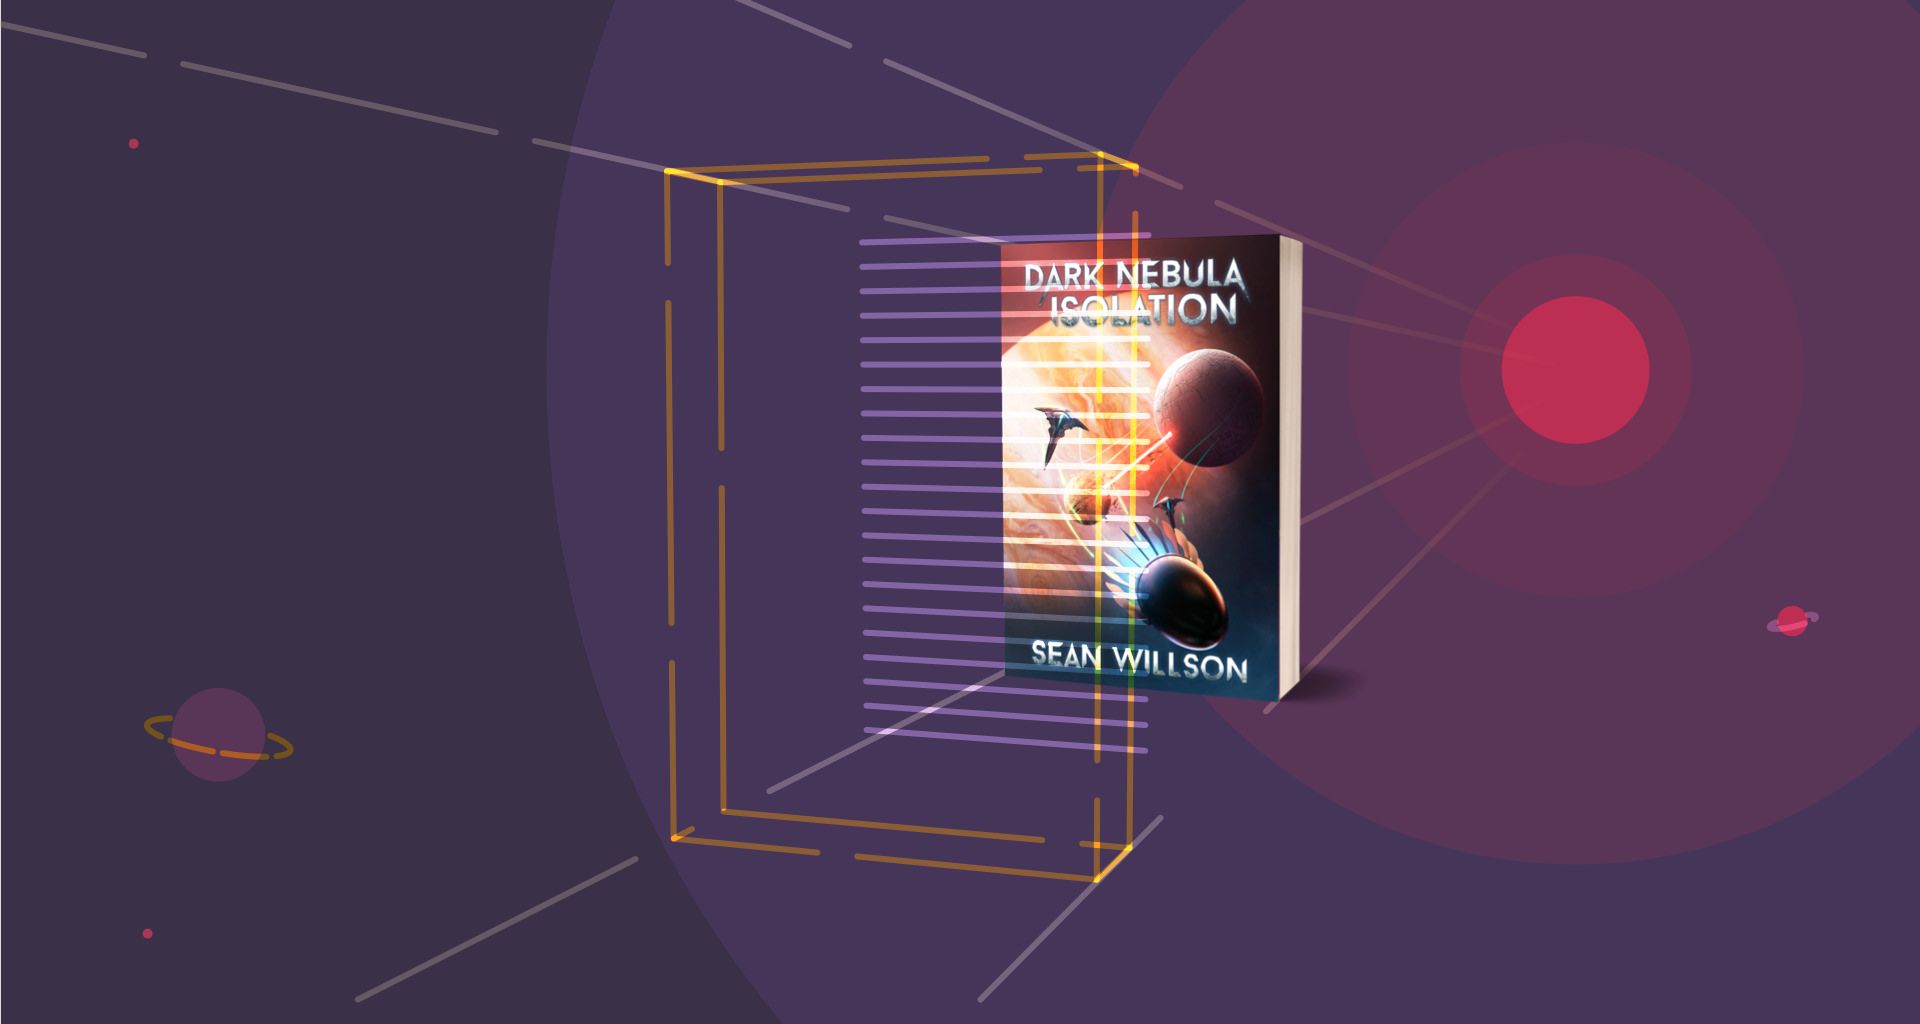
Would you like to find out more about Sean’s work? Then visit his website or explore his books.